Hunt 365 March-Best Archery Sets Part II—Creating Great Archery Sets using Fence Jumps and Transition Food Plots (A version of this article is published in the March 2016 issue of The Iowa Sportsman magazine)
In February, I dove into how I read an aerial photo and what I look for. There are other things I look for when viewing an aerial, but I wanted to concentrate on four easy to identify terrain features that you can key in on when hunting new ground or reviewing your current hunting grounds. These were the inside corner, the brushy fence row, timbered funnels, and timbered points. All four are great places to make outstanding sets.
Even when I identify a great spot for a stand, creating a great set is often times more complicated. Not all spots are created equal. And, even when I find a great area, making a great set usually requires extra work. Years ago, I took pride in being able to hang a half dozen stands in a single day with ease. Today, it sometimes takes me multiple days (or longer) to prepare a single set or trap as I sometimes say. As a hunter with limited time during the actual hunting season, I have found over the years that to get more successful I need to make sure each set is maximized to get me within range with my archery equipment each and every time I sit that set. It does me no good at all to see several giant bucks each season if each time they are too far off for a good shot. I will trade a spot I am confident in seeing a good buck with a set I am less confident in seeing one…but if I do my odds are much higher in getting off a good shot. Limited time during the hunting season has forced me to manipulate my hunting sets so that my time on stand is taken full advantage of.
Fence Jumps-Creating a fence jump is one of the most effective ways you can push deer down to a manageable hunting area. By creating areas within an existing fence that are substantially easier to cross you can narrow down the location for your set. I don’t usually start with an existing fence jump and then hang my set accordingly…but rather I pick my ambush site first so that I can take advantage of entrance and exit routes, wind direction, and sometimes even neighboring hunting pressure. Then, after I’ve picked my stand first, I will manipulate the fence to create the area I want the deer to cross. This is done from a combination of making the majority of the fence harder to cross while making one area easier to cross. I’ve seen where hunters will simply tie down the top two wires of a fence to accomplish this. While doing this may promote some deer to use your crossing, I go much further when creating my fence crossings.

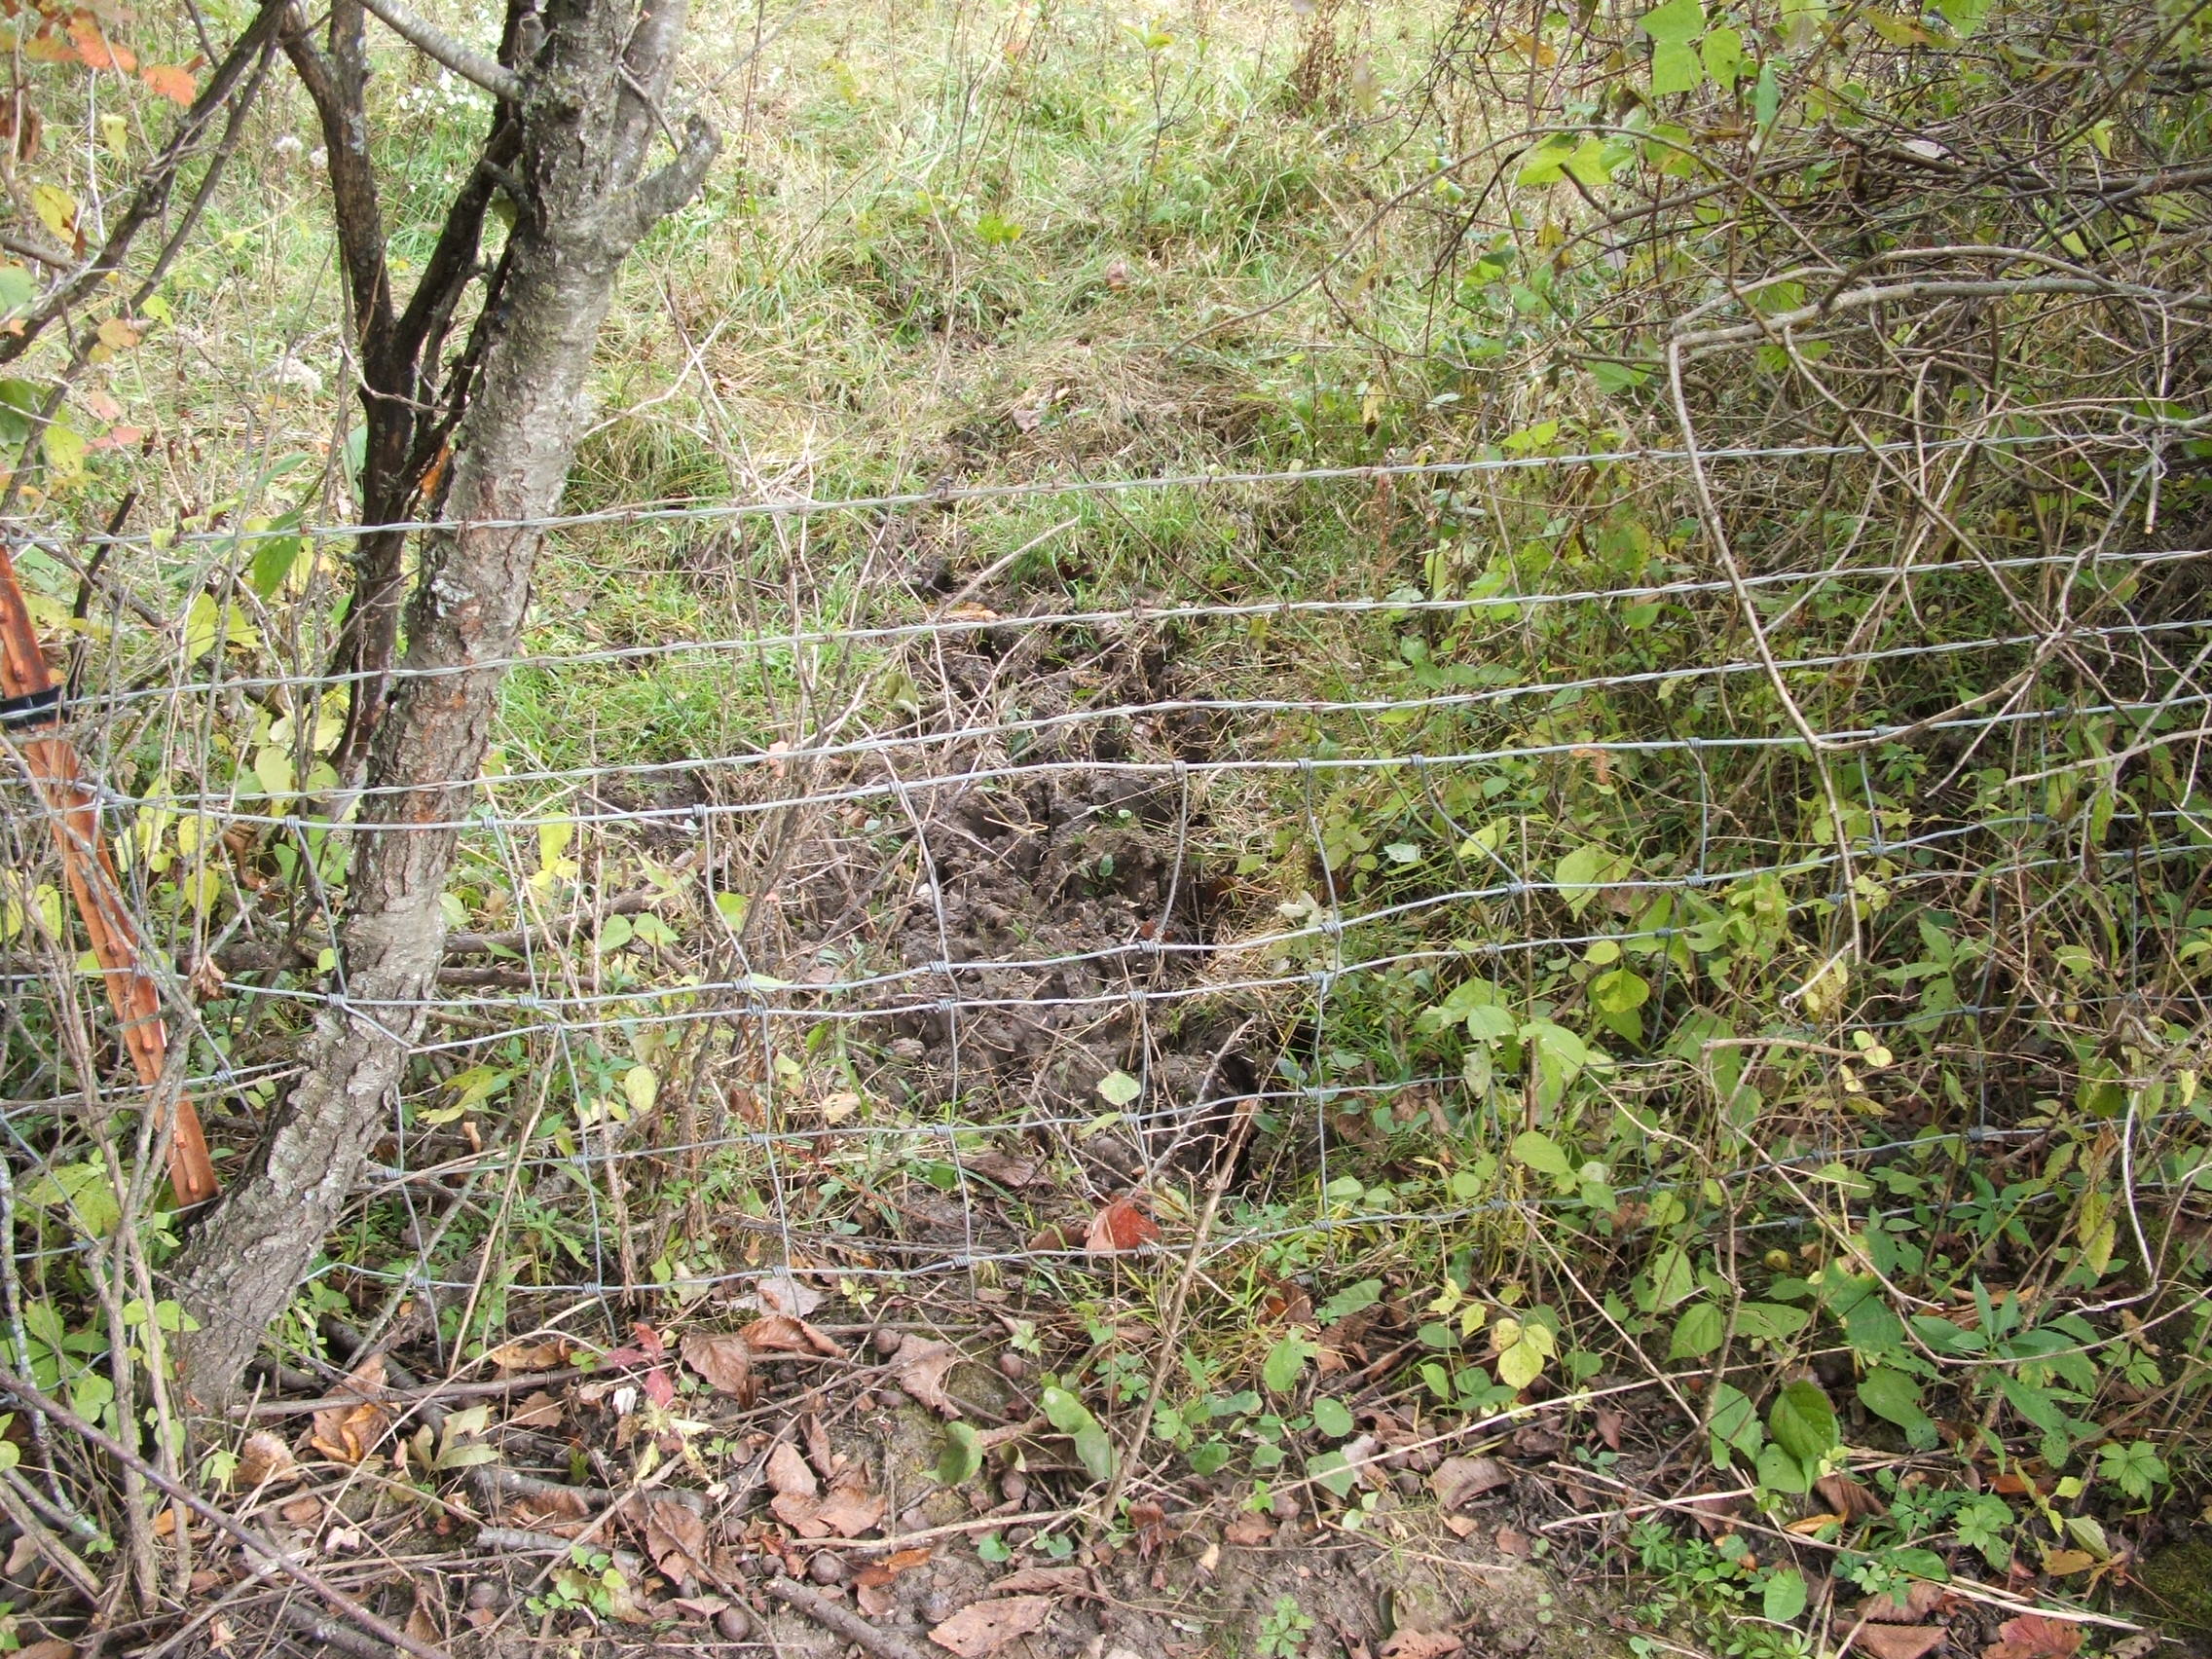
A fence jump like this will funnel deer right past your hunting set. This jump was made possible by an already very robust fence line…and then pulling this section down very low.
Without a doubt, bucks prefer to jump a fence while does prefer to crawl through it. Thus, simply tying down the top wires won’t always help you. Imagine a buck following a doe during the rut…the doe finds her spot to cross by crawling through a weak and loose spot in the fence. The buck is not going to walk down a few hundred yards to the lower part of the fence to jump, and then resume trailing the doe. It doesn’t work that way. No, a good fence jump is made by making the entire fence (excluding your spot) an unlikely crossing for any deer. This is done by severely tightening barbed wires, adding barbed wires, or using welded wire to make crawling through almost impossible. Then, you can usually add a wire or two to the top of the existing fence (except your spot) and you have created a great fence crossing. The whole idea is to create an area at the fence that is so preferred over the other length of fence that most if not all deer will cross there.
Gate Openings-Another great ambush site is at a gate opening. You can create gate openings in preferred spots by simply removing the fence all together in that spot. If you are not sharing the fence with a neighboring property you don’t even have to build a gate…just leave the spot open and deer will use the opening as a preferred fence crossing. If you are sharing a fence line with a neighbor, make sure to talk with them before creating gate openings and fence jumps.
Creating your own Fence Crossings-In farm country throughout the mid-west, there are usually ample opportunities to create fence jumps and gate openings from existing fence rows. But, many times these fence rows are shared with other land owners. This makes altering these existing fences difficult especially if your neighbors hunt themselves or if the fence is part of a pasture. In any event, creating your own fence row and subsequent fence crossings is a tactic that has a huge return on investment for years down the road. And because you are creating a fence line from scratch, you can locate it wherever you see fit…not just necessarily at a property line or pasture border.
Creating your own fence row takes time and money. It’s not cheap or easy to put in 400 yards of good fence. But, once done, the investment will have pay backs for many years to come. Deer will cross your fence at the jumps or openings you create and at the ends…so creating fences that are not long enough won’t do you much good. Before ever pounding in a post, plan out your fence and crossings. Where’s a good place to hang your stand? How will you get into this spot and back out at the end of the hunt? What winds will you be able to hunt this with? The best sets are the ones you can hunt repeatedly without burning the area out from hunting pressure. Creating your own fence row and crossings is simply a great way to establish preferred deer travel patterns in a location that you determine. If the fence is built correctly, it can be a great way to significantly narrow down deer movement making it much easier to hunt.
There are many scenarios when making your own fence row and crossings that can and will pay off. The longer the run, the more opportunities there are to create crossings and the more ability your fence row has to funnel deer for you. I like runs of at least 100 yards. Sometimes the ends of the fence runs themselves are the crossings. I use them to congregate several trails into one, limit entrance of deer into a food plot, or to discourage deer from moving to my downwind side.
A good fence row has some key components which can make it great for funneling deer. The first piece being that the bottom portion is made out of woven wire. Woven wire prevents does and fawns from trying to crawl through the fence. You can buy 47” tall by 330 feet Red Brand woven field fence for about $150. Next, I like to run a couple of barbed wires on top of the woven wire to create a fence that bucks prefer not to jump. Barbed wire will cost you about $40 per quarter mile. I use 6 ½ foot T posts with T post clips to hold the woven fence and wire. Spring clip wire strainers are necessary to make sure everything is tight and can be tightened in the years to come. T posts will cost you about $4.50 each and the clips and strainers will add some change to the project. To make solid crossings, corners, and ends, I like using Wedge-Loc brand bracing. This brand of bracing is relatively cost effective but will save you a ton of time. When you add it all up, you’re looking at about $600 for a solid brand new 200 yard stretch of fence row with solid ends and a crossing…not to mention the better part of a weekend for two hunters working together to install it. You can keep costs down by finding used posts and other supplies on Craigslist for example. When you are done however, you will have created a 5 foot tall 200 yard long fence that will funnel deer past your sets for decades. I can promise you this investment in time and money will pay greater dividends than just about any gadget on the market today.
The Final Touches-One last favorite of mine in adding drawing power to my sets is to incorporate a small food plot and usually a mock scrape within range of my stand. Obviously I’m not doing this when setting up on an already established food plot. This is more for spots that are travel corridors, my fence crossings, inside corners, or other areas more associated with cover. These food plots are very small…maybe only a tenth of an acre or smaller. The idea is to create a reason for a buck to come just a little closer to your stand. The food in the plot is irrelevant…it’s the attraction the plot has along with a mock scrape I’ll make that draws the bucks into range. It’s as if a buck traveling by can’t help but to check out the plot and scrape to see what deer have been there recently. A good choice for these very small green patches is a blend of winter rye and dwarf essex rape. Both varieties are very easy to establish. The mock scrape can usually be made by simply bending over a smaller tree and tying is back to itself with some wire to create a licking branch. I don’t know what it is about these small openings in cover planted in greens but deer can’t resist them.

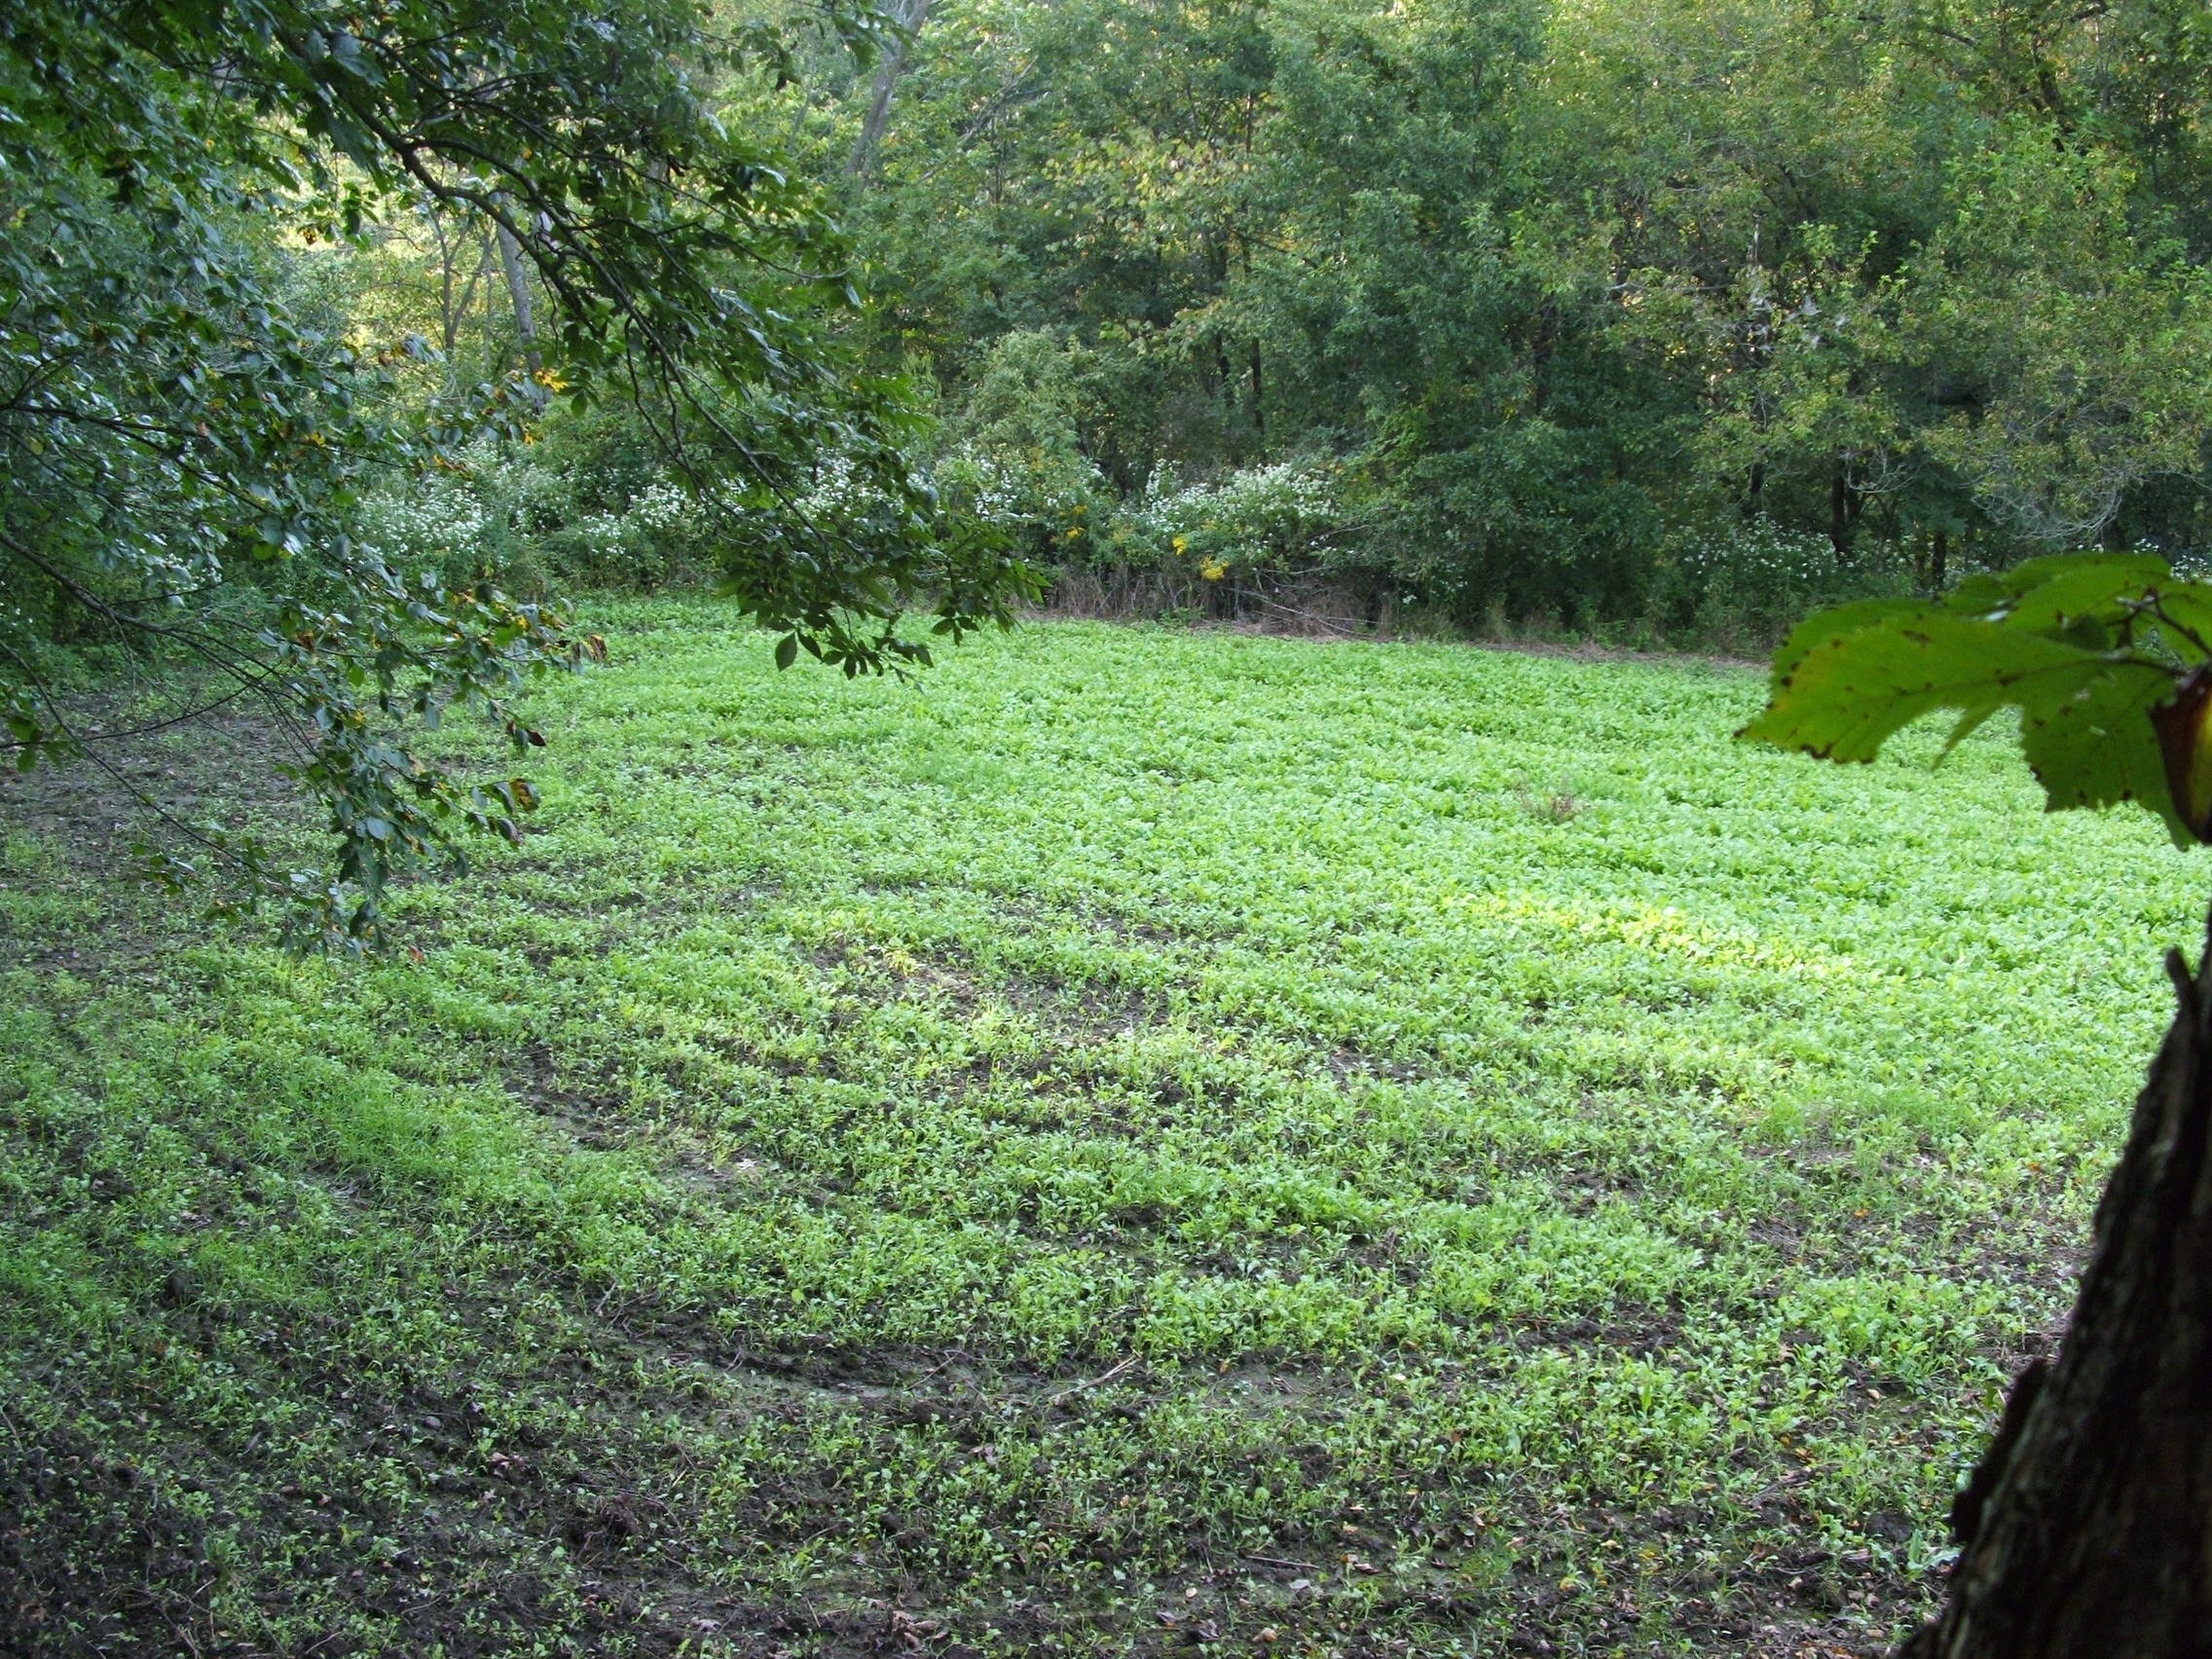
Very small food plots can add just that extra touch to make your set irresistible to a traveling buck. Small plots planted in greens work best.

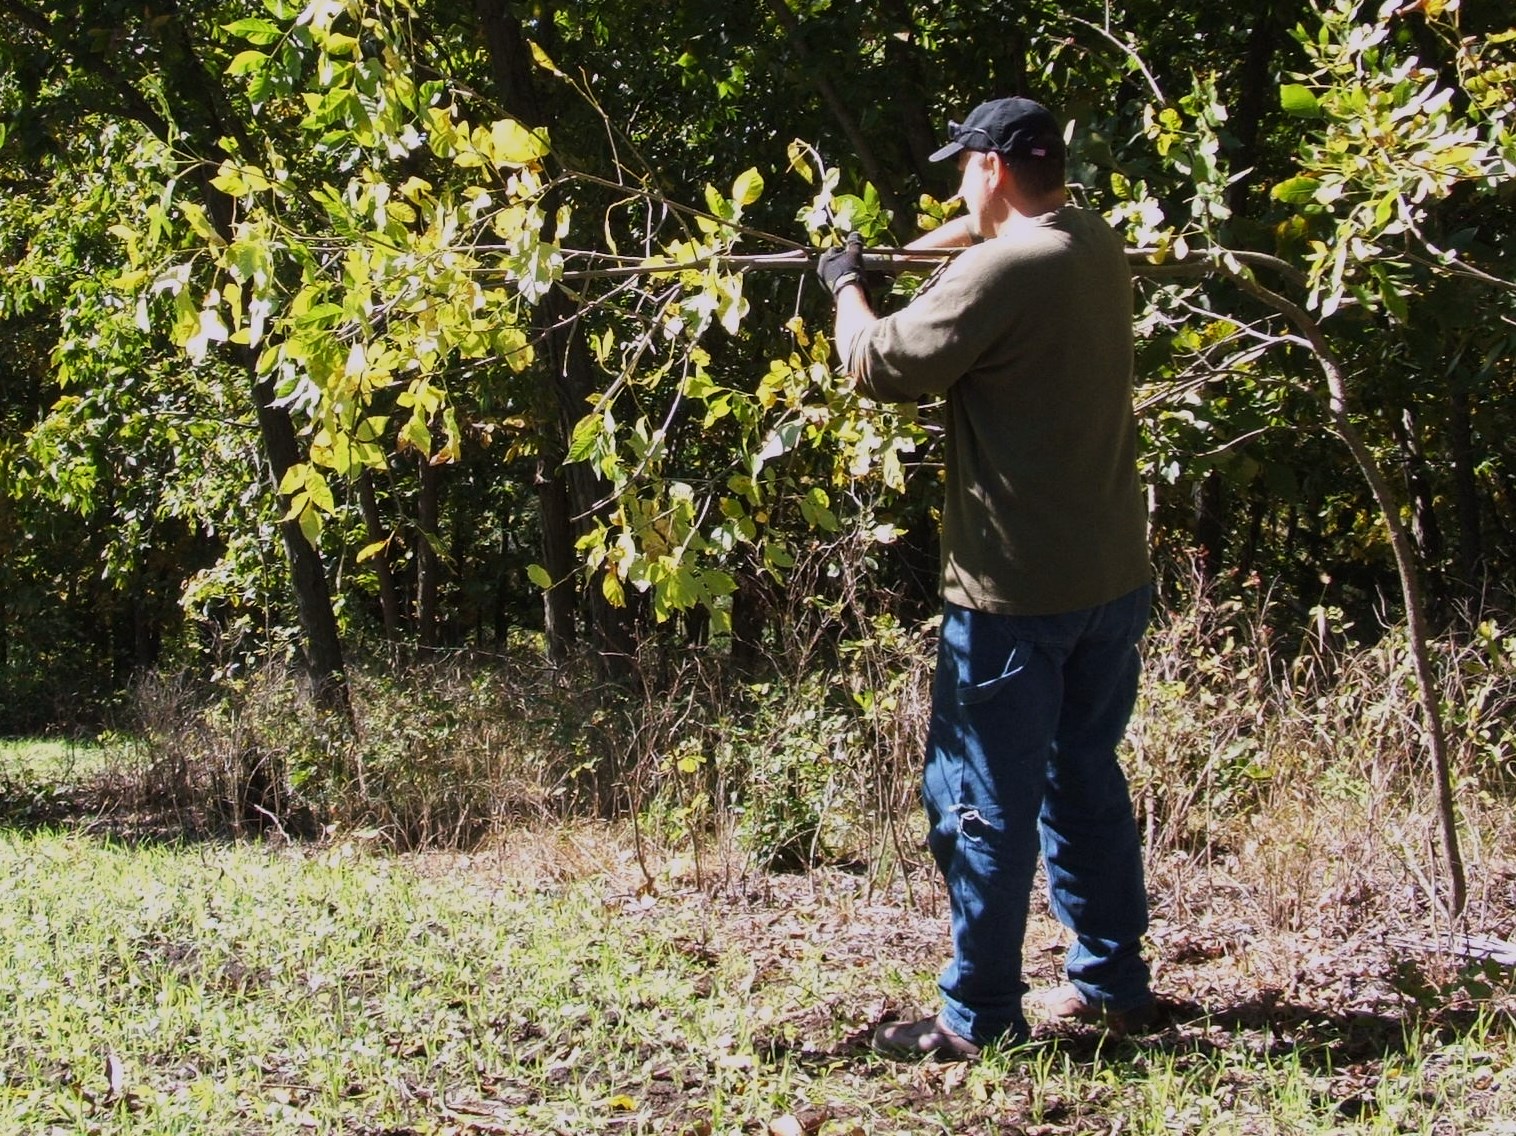
Add a mock scrape by simply providing a licking branch is just one more way to draw deer to your location. I like to make or fix up existing mock scrapes in late summer.
Conclusion-In these last two articles; I tried to give you some good places to start when planning out your best archery sets. Finding spots to investigate using an aerial photo is a great place for any archer to start. Manipulating the areas around those great spots you find by creating a reason for deer to pass closer to your stand is the next step in maximizing the productivity of your time in the field. Taking advantage of fence crossings or making your own is a very cost effective and long lasting tactic that has high returns on your investment in time and money. Little foods plots accompanied by a mock scrape within bow range of your stand can help add those finishing touches. These are the kind of strategies that don’t get much print or time on your favorite hunting show. They require a decent amount of work and time during the off season to accomplish…but I would argue will do more to get you closer to a good buck than many other methods. It’s no coincidence that some of my most productive sets in my life have had a fence crossing and/or food plot with mock scrape at them.
